
Exact Painting Process From Start to Finish
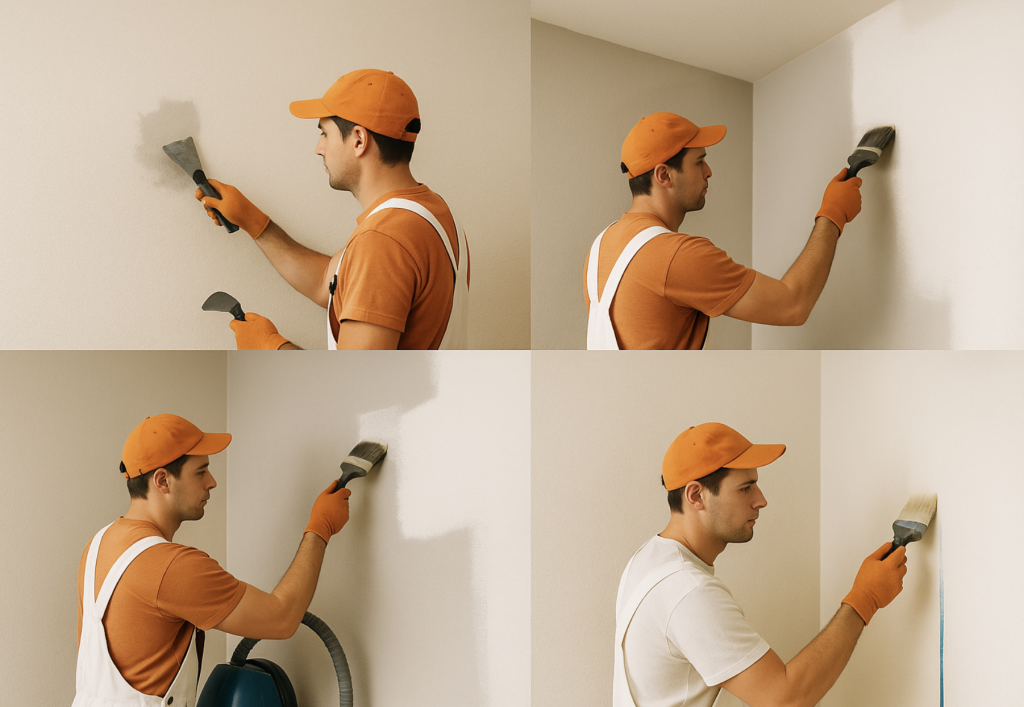
Painting a room may look simple, but achieving a professional finish requires proper preparation, the right tools, and a clear process. Below is a complete guide to painting walls, ceilings, trim, and even doors, step by step.
1. Preparing the Room
- Remove outlet covers, switch plates, and light fixtures.
- Protect floors and furniture with tarps, drop cloths, or plastic sheets.
- Apply painter’s tape along ceilings, trim, windows, and door frames to ensure clean lines.
Conclusion: Proper preparation prevents accidental spills and uneven edges, creating a clean work environment for smooth results.
2. Cleaning the Walls
- Wash down surfaces with TSP (trisodium phosphate) or sugar soap.
- Allow the walls to dry fully.
- For areas with heavy grease or smoke stains, multiple cleanings or stronger primers may be required.
Conclusion: Clean walls ensure better paint adhesion and reduce the risk of stains bleeding through.
3. Patching and Repair
- Fill nail holes and cracks with spackle or filler.
- For larger holes, use quick-set drywall compound or a patching kit.
- Once dry, lightly sand patched areas until smooth and even.
- Vacuum or wipe away all dust before moving forward.
Conclusion: Addressing imperfections before painting guarantees a flawless, even surface.
4. Priming the Surface
- Use a high-quality primer such as Kilz or a paint-and-primer-in-one for strong coverage.
- Apply one or two coats, depending on how bold the previous color is.
- For dark walls being painted white, multiple primer coats may be necessary.
Conclusion: Primer provides a neutral base, improves coverage, and extends the life of the paint job.
5. Choosing Tools and Paint
- Select quality brushes (angled brushes are best for cutting in corners and edges).
- Use rollers with the correct nap: ½″ nap for smooth walls, ¾″ nap for textured walls.
- Consider paint finishes: satin is easy to clean, flat hides imperfections, semi-gloss highlights surfaces but shows flaws.
Conclusion: The right tools and finishes make painting easier, faster, and more professional-looking.
6. Painting Technique
- Cut in first: use a brush to paint edges, corners, and places rollers can’t reach.
- Roll in sections: work in 3–4 ft areas, rolling in “W” shapes to spread paint evenly.
- Back roll lightly to even out the texture.
- Avoid pressing too hard—let the roller apply the paint naturally.
Conclusion: Using controlled, consistent strokes ensures smooth coverage without visible roller marks.
7. Applying Coats
- Apply at least two coats of paint for full coverage.
- Allow primer and each coat of paint to dry completely before adding the next.
- Lightly sand between coats only if necessary (for raised fibers or roller lint).
Conclusion: Multiple coats create depth and durability, while proper drying time prevents peeling or bubbling.
8. Special Considerations
- Ceilings: painting ceilings brightens a room; use ceiling paint and rollers with extension poles.
- Trim and baseboards: tape off, use small brushes, and paint after walls are finished.
- Doors: clean thoroughly, use a door-specific primer, then apply two coats of door paint for durability.
Conclusion: Tailoring the process to each surface guarantees consistent results across the entire room.
9. Finishing Touches
- Remove tape carefully while the final coat is still slightly tacky.
- Reattach outlet covers and fixtures once the paint is fully dry.
- Touch up any missed spots for a flawless finish.
Conclusion: The final details elevate the project from “done” to “professionally finished.”
A successful painting project is about prep, primer, and patience. Using quality tools and paints, working in the correct order, and keeping surfaces clean are the keys to professional results. With the right process, even dark, stained walls can be transformed into smooth, bright finishes that last.
Read
How to Prep Walls After Wallpaper Removal
Exterior Painting Before Listing a House – Worth It or Waste of Money?